Trailer Valet, how we move the trailer in tight places
Pictures published :2
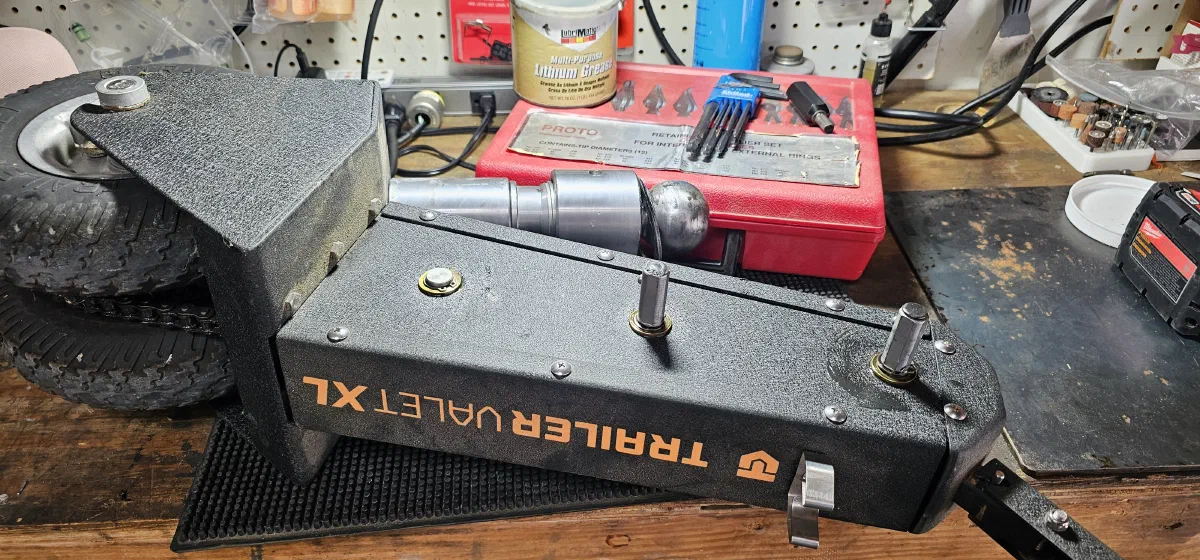
The Trailer Valet works, plain and simple. I purchased the XL from the refurbished section of the Trailer Valet site. Refurbished units have the same warranty as the new units and have a slightly lower cost. My driveway has a grade to it and remaining mindful of the grade is necessary when operating.
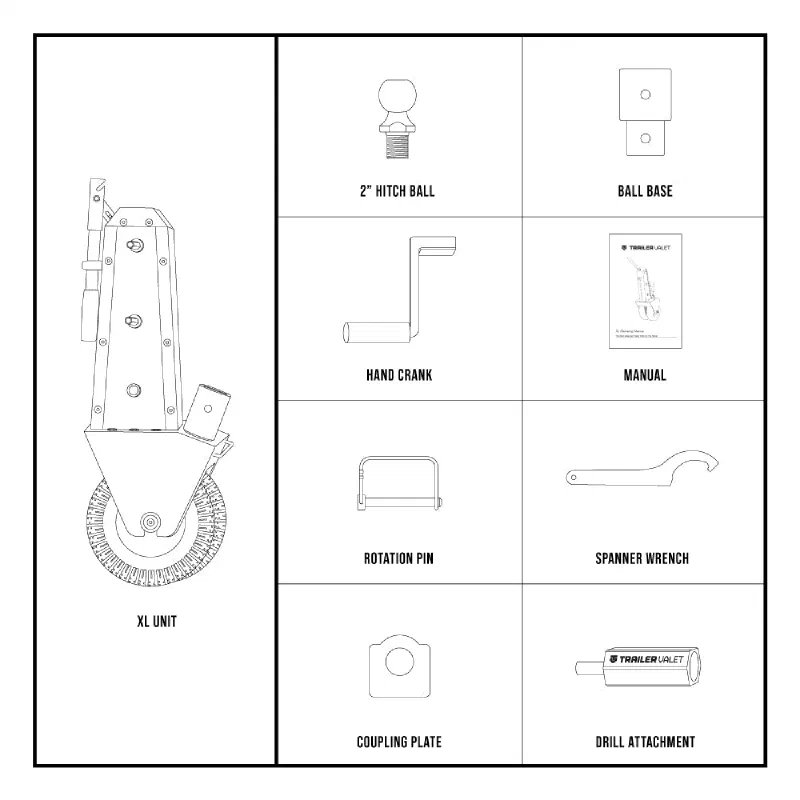
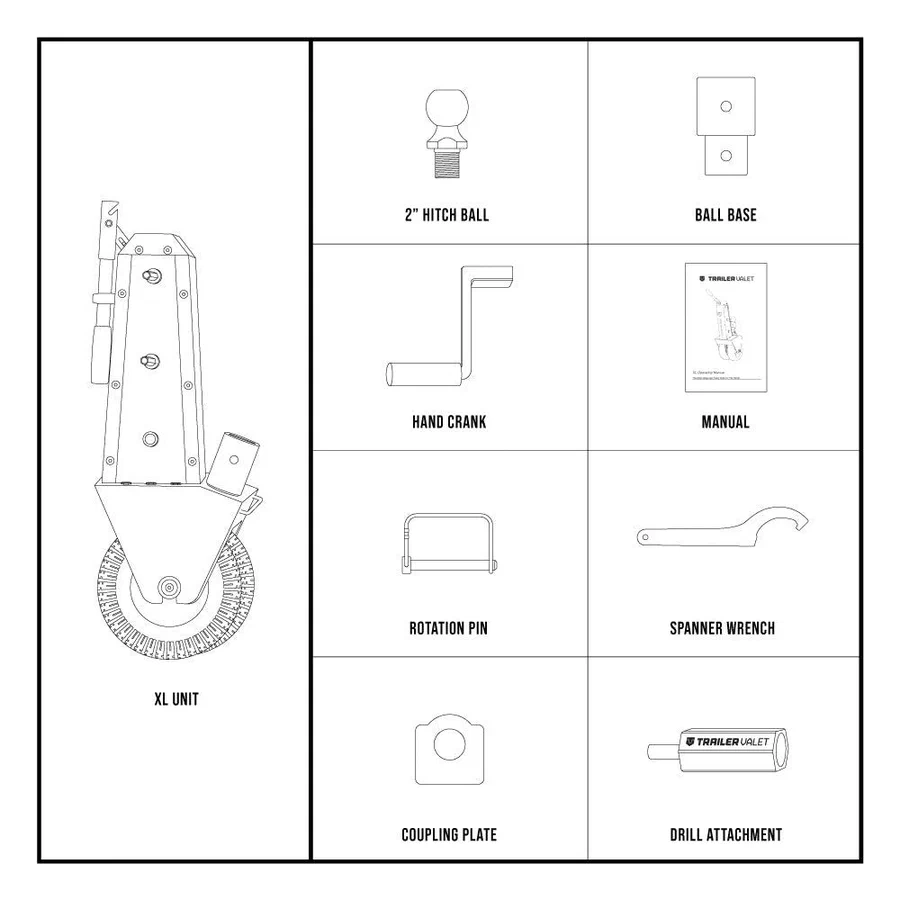
The Trailer Valet XL components
XL Diagram
The Learning Curve
The unit I have is a manual unit The Hand driven units have a learning curve. On more than one occasion when I first started using it, I had to double check tightness a few times on the ball.
Ball Installation
It is important to have the hitch ball properly secured when installing the hitch ball to the trailer hitch. I have learned that torquing the ball with the spanner wrench before and after installation into the Ball Base guarantees a good connection.
Steering
Steering the unit is easy, I had to learn to not force the unit and steer while in movement.
Gearing
The gearing is great. I use a drill to move the unit in lowest gear up the grade and the hand crank to move down the grade. Having a low and high gear is great allowing for good control.
Spanner Wrench
Added magnets to keep the spanner wrench in reach and attached to the unit. A small touch of gorilla glue has kept the magnets in place for multiple uses over a few months. Keeping the spanner wrench on the chassis is a major convenience.
Maintenance
Greasing the brass bearings.
Cleaning the chain drive.
Inspecting the wheels for wear.
Inspect the halt mechanism.
Inspect chain tension.
Tools Needed
- Drill with Phillips head driver
- Lock Ring Pliers
- Marine grease
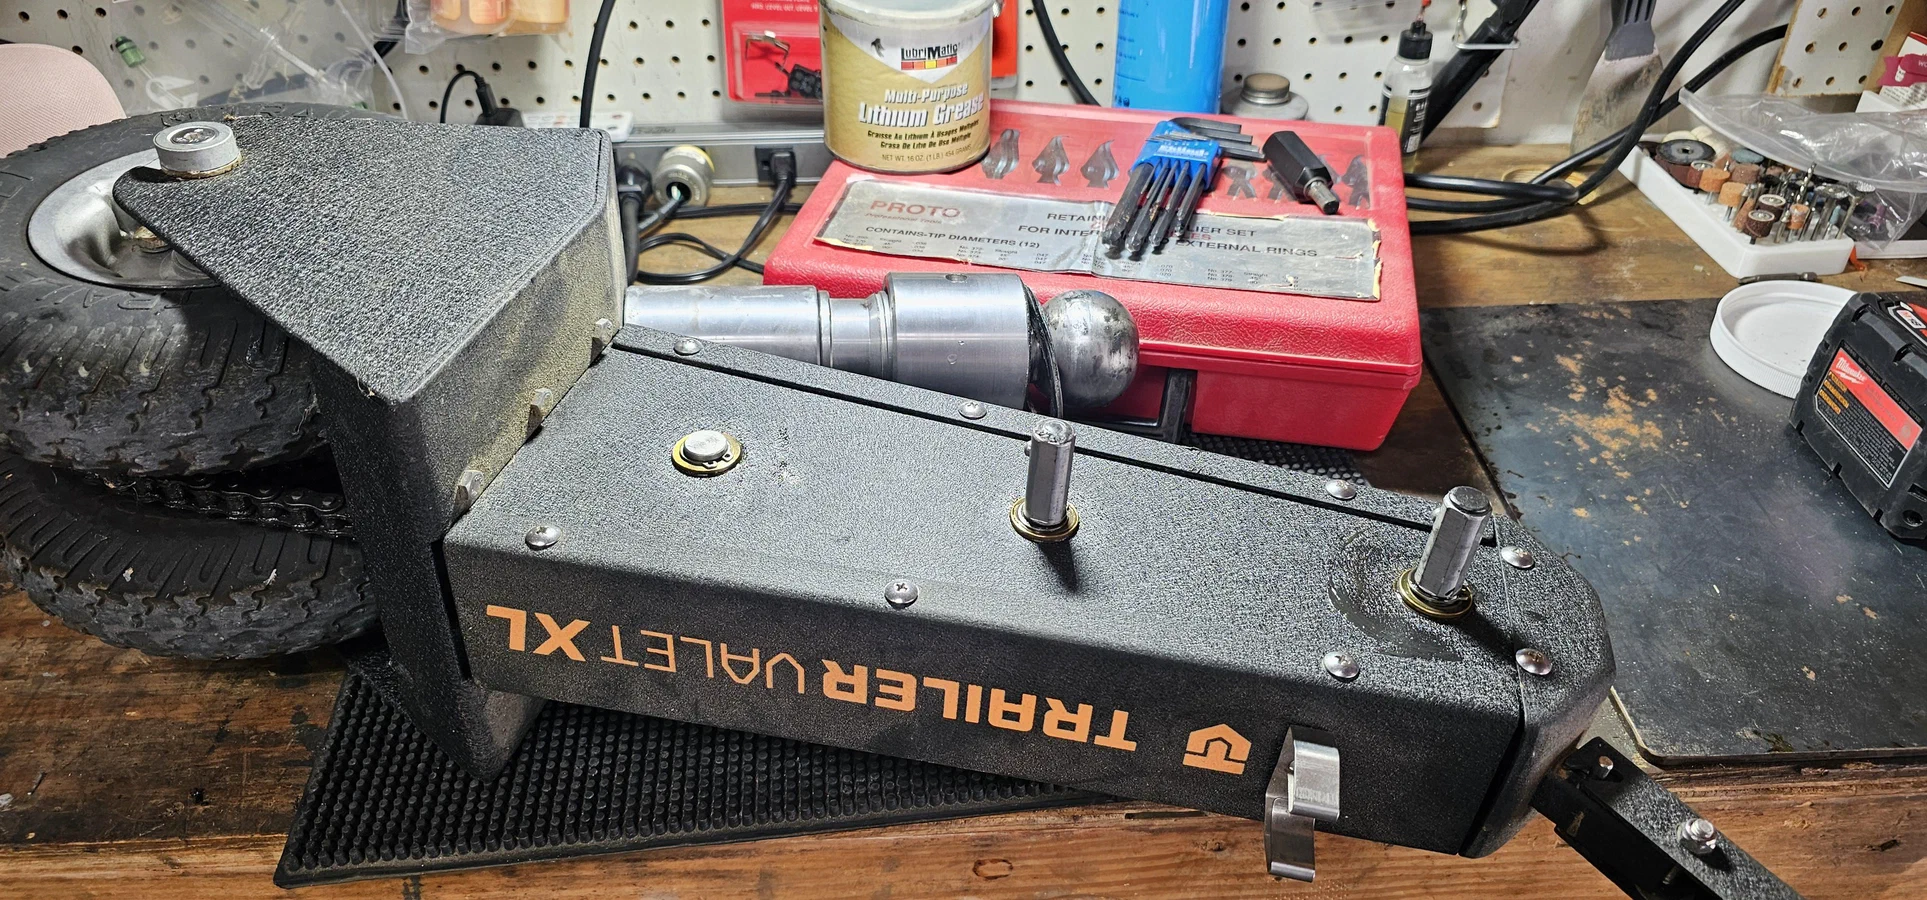
Gallery
Share with others